Tuesday, April 4, 2023

MILESTONE PROJECTS

Final blog post, here we go!
Below will be a compiled set of pictures of my better works.


Objectified Response:

Mesh Mashup:


Papercraft Object:


Hollow Form 3D Print:


And that's it, great working with you all my good classmates.
See you all in the halls or something.
Goodbye~

Tuesday, March 28, 2023

3D PRINTED HOLLOW FORM OBJECT: THE HYBRID

 First I had to make at least six concepts that's either hollow or self-supporting or both. And then I had to combine one of them with those with my partners for the final project.


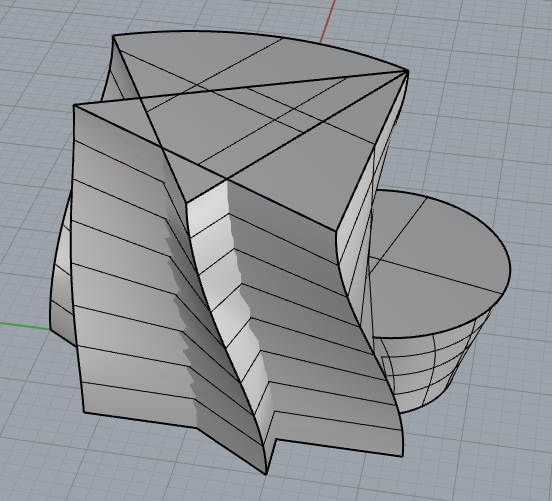
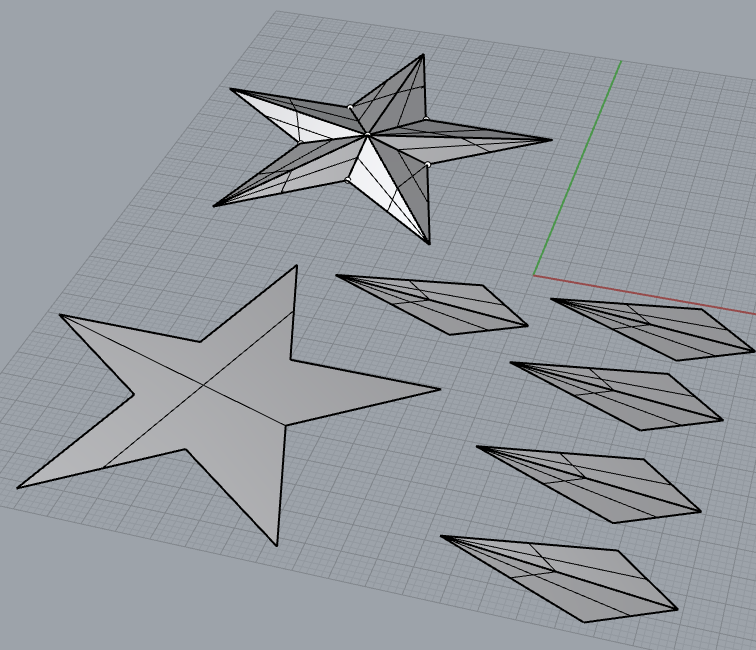
I like this one. I used this model as a way to learn how to use the boolean tools, kinda neat and handy tool.

Probably my worse one. But it was also my first model (I don't know why I uploaded this second). This model was a way for me to learn twisting and tapering.

It's an ice-cream cone. I made this because I was in a mood for ice-cream. I wasn't sure if I should have made the spheres like we did in class before or I should have used the actual sphere object tool to make a perfect round sphere. My thoughts was if I had to 3D print this, the flat-ish top would have been able to support the printing, hopefully.

Did a spiral staircase. I like this the most. Learning how to make a spiral upward was pretty neat.


I made an emphasis on the twist deform tool on this model. This is my second favorite, thought it was pretty cool.


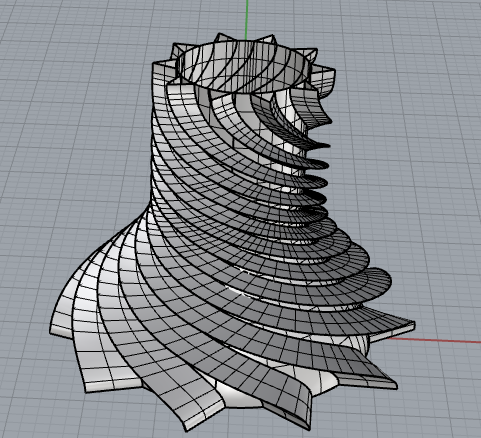
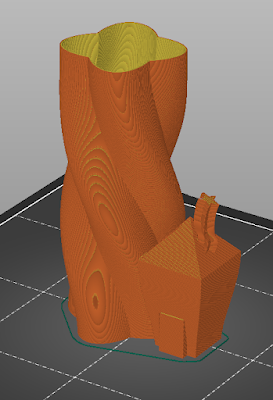
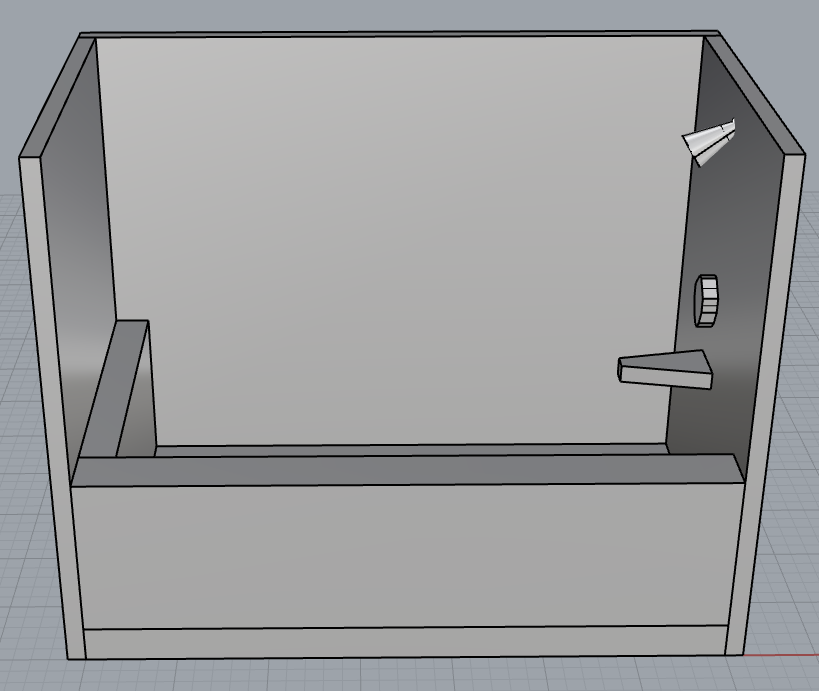
My last object was a house with a chimney. This was also the model that I would be using to incorporate it with my collaboration with my two partners, Bin and Zoey.

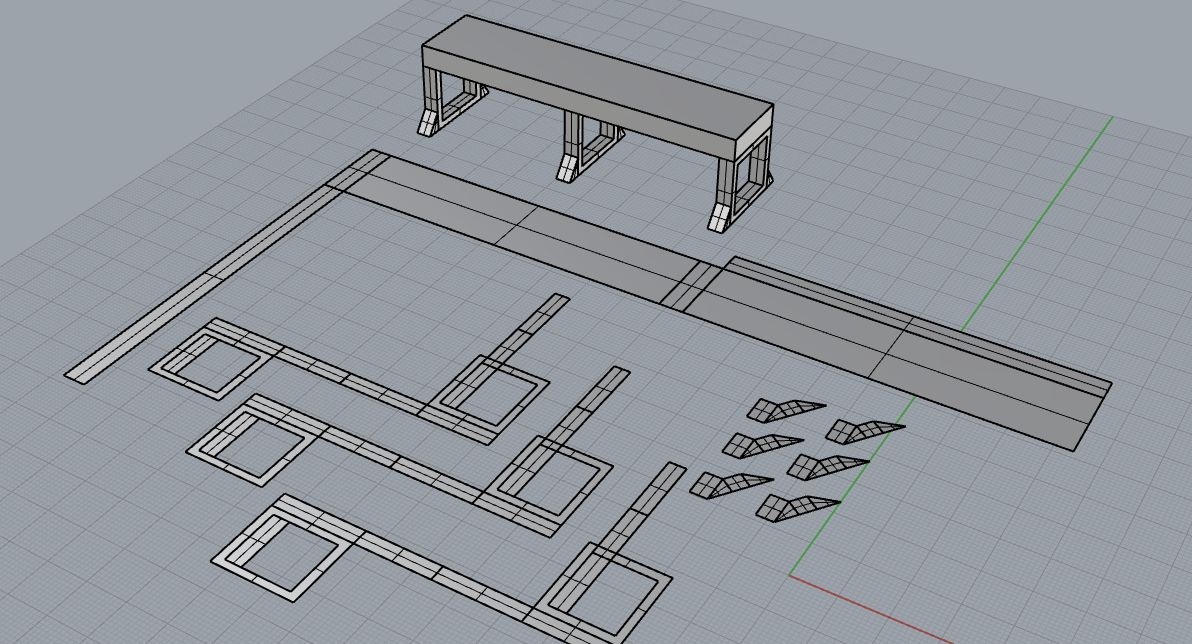
The idea here was at first we thought about doing a tree house motif, but it didn't play out because when uploading it on the 3D printing software there were errors, because we initially had the house on top of Zoey's large twisted model. Bin wanted to use his curved star model and decided to attached as the chimney. With the final concept the 3D printing software didn't show any problems, as far as I could see. 

Thank you,

Goodbye~

Tuesday, March 14, 2023

PAPERCRAFT OBJECTS: FINAL REVISION

So I finished this the week before and did my revision based on the critiques from my classmates. Thus there's not much change from before aside from me recently got a hot glue gun for the adhesive, but it was still difficult to glue the tiny parts, tape remains to be one of the better methods to keep this project together. Here are some pictures again below. 

Full warning, there is (Nendoroid) doll nudity down below:

I intended to use those gift tissue paper, I thought I had some at home but it seems I was mistaken and used them all up prior. I made do with rice paper, because it has that translucent look. 


As you can see the shower head is detachable.

Nendoroid Doll nudity starts here:


I used blu tack for Super Sonico to hold the shower head.

That's all
Thank you
Goodbye~


Tuesday, March 7, 2023

PAPERCRAFT OBJECTS: Continue

 Today is going to be a much shorter blog than usual. I reworked my shower from last time.

I've now added a curtain rod and some shampoo bottles. The changes I made compared to last time was the shower head is now a bit smaller and not as bulky.


The Shampoo bottles looks like the bare amount of work went into them, yes, but I can't help it. I wanted to do the ones where it has those lotion pumps, however when crafting it in real life, they were just too small to do.

That's all
Goodbye~

Tuesday, February 28, 2023

PAPERCRAFT OBJECTS: FIRST PROTOTYPE

    What I created this week in Rhino7 is my shower. My classmate and I had to make something that meant something to us. For me, my shower is something I look forward to everyday next to sleep. I had tried to make my bed, pillows, and blankets at first, but it didn't came out like I had in mind. Even my results on the shower was not as I imagine either.


    I unrolled all the parts. somethings didn't translate well onto the paper or unrolling the smaller object would be challenging when cutting and gluing so I had to re-model them, Specifically the knob and shower head.


    Cutting the paper out wasn't too much of a trouble, but I came into another problem where my glue wasn't a good adhesive enough. I should have thought about it when I decided to use stock paper over regular letter paper. Since the glue wasn't holding I had to opt for tape instead. Much better I say, it looks pretty decent when I finished making it in real life. It's interesting how much smaller it is when folded and put together. I thought it would be much bigger when I lay all the parts to my imaginative four pages on Rhino7.

That's all

Goodbye~

Tuesday, February 14, 2023

PAPERCRAFT: RESEARCH

    For this blog I had to do a light research on artist(s) that works on 3D construction with paper. The ones that stood out to me the most was Illuminated Cut Paper Light Boxes by Hari & Deepti. Their work is done by creating a light box with intentional cut paper that overlaps one another to create their desire narratives.


The idea behind the paper light box is a neat concept. It reminded me something of a shadow box done by Yugioh and MTG cards I seen online.

Hari and Deepti takes this a step farther from the Yugioh Shadow box, by adding lights to the back of their work, hence "light" box. 


My favorite work from them are ones depicting being under the sea with whales and fishes swimming above. It creates a cool atmosphere, as if we're looking at it in an under the sea aquarium.


From what I understand how they create these pieces is by having multiple layers over on top of one another. Each pieces create depth depending on how you cut out the center. It further emphasize by the detail they are willing to add, thereby creating their story/narrative. Additionally the more layer of paper there is, the amount of light that reaches the paper layer closes to the viewer decreases. Finally they just need to cast a light source in the, thereby creating a "light box".

PAPERCRAFT OBJECTS: DIGITAL SAMPLES

 This week's assignment we were task to unroll/separate our objects in Rhino7.

My First object was making a star.

My second object was making an arrow.

My Third object was a microwave.


My fourth object, because since it was nearing Valentines I made a heart.

 
My fifth object was just random polygons mashed together.

My last object was a bench.

I made a mistake, I thought I had only need to do 6, but it turns out it was supposed to be 8. It's getting late shoot, oops.

That's all 
Goodbye~


MILESTONE PROJECTS

Final blog post, here we go! Below will be a compiled set of pictures of my better works. Objectified Response: Mesh Mashup:     Papercraft ...